
BUILT IN THE USA. READY FOR YOUR PROJECT.
120/240V Switchgear: Layout and Connection Planning
A 120/240V label describes system voltage, not the shape or capacity of a distribution assembly.
DIRECT FROM THE MANUFACTURER / NEW EQUIPMENT
THE MANUFACTURER’S PERSPECTIVE — 02
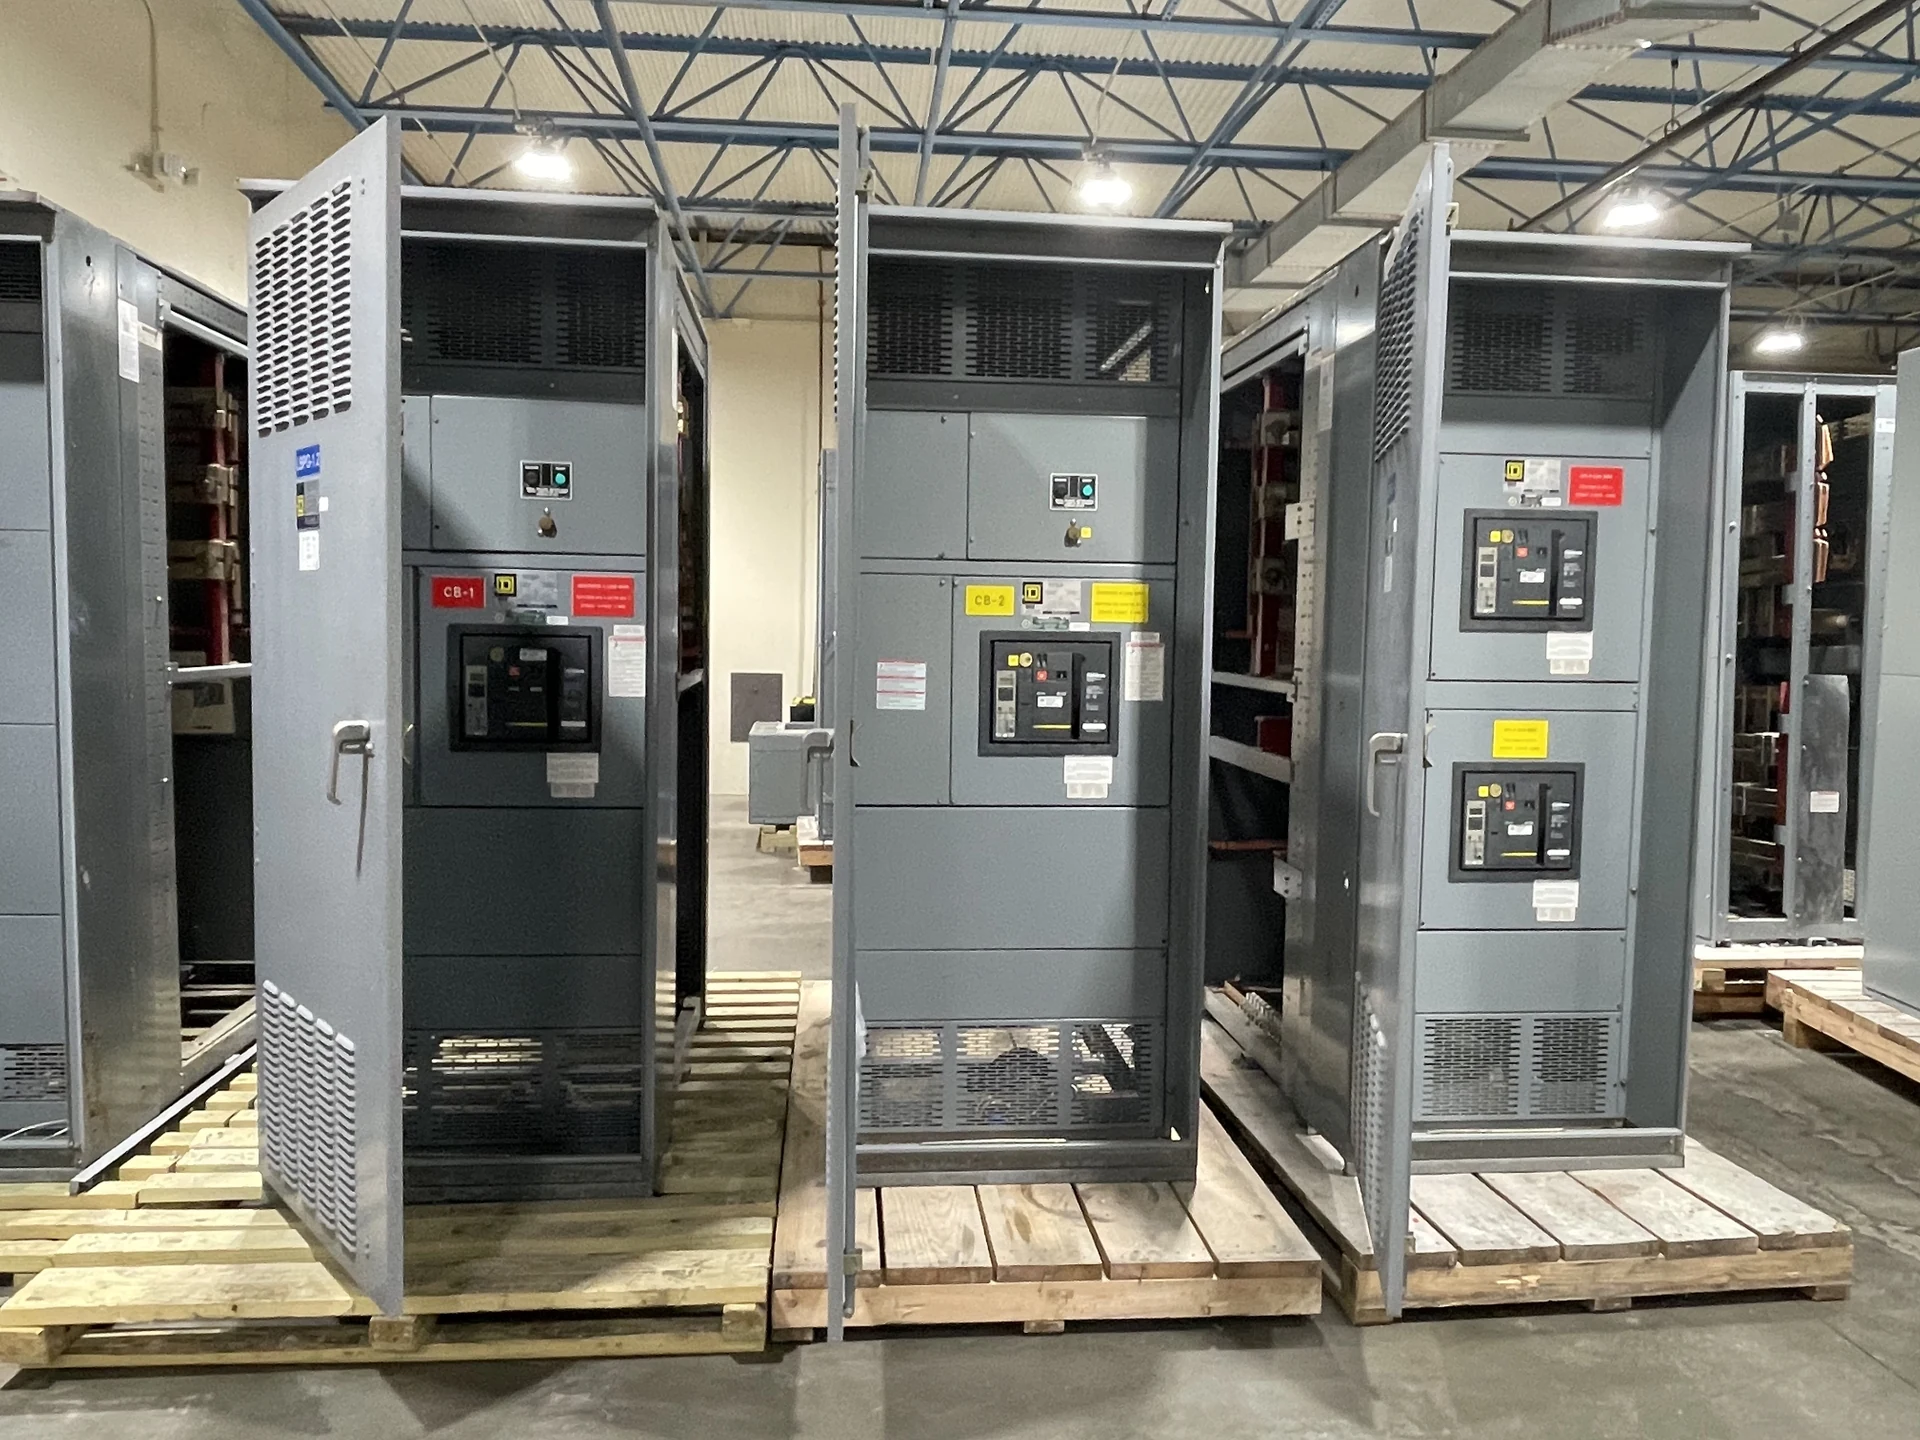
A 120/240V label describes system voltage, not the shape or capacity of a distribution assembly. For a new installation, the useful layout starts with the source configuration and ends with a workable path for every conductor, connection and maintenance task. Owners, engineers and contractors should resolve those interfaces with the manufacturer before the enclosure dimensions are fixed.
Start with the actual source and wiring arrangement
A common 120/240V system is single-phase, three-wire, with line-to-line and line-to-neutral loads. Other configurations are possible, so provide the one-line diagram, phase and wire count, grounding arrangement and utility service requirements rather than relying on the voltage label alone. Identify each incoming source and the loads it serves.
For example, a three-phase, four-wire high-leg delta system has different phase-to-neutral characteristics from a single-phase service. The engineer must identify the high leg and allocate loads and terminals accordingly. Confirm that the proposed assembly, insulation and protective devices are suitable for the actual system voltage and configuration; availability requires project-specific review.
Turn the feeder schedule into usable terminals
List each incoming and outgoing circuit with its conductor material, size, quantity per phase, neutral and equipment grounding conductors, and anticipated installation method. Specify whether cables or another connection method will enter the assembly. A feeder schedule lets the manufacturer check terminal quantities and space instead of estimating from the main current alone.
Lugs must be compatible with the specified conductors and suitable for their intended use; multiple conductors should not be assumed to fit a terminal. Parallel sets, large neutrals and future feeders can increase the required termination area. A smaller lineup may save floor space but restrict pulling and termination room or leave little expansion capability.
Plan the cable route as well as the entry opening
Top entry can align with overhead raceways, while bottom entry may suit a floor duct bank or trench. Neither is automatically better: structural members, other trades, conduit paths and access to connection points can favor one route. Show entry locations and expected conduit groups on the site plan, including any obstacles.
Termination compartments need bending and working space appropriate to the conductors, equipment instructions and applicable requirements. A crowded opening may force changes to the section width or conduit arrangement. Coordinate who makes field openings and how they are reviewed, so an installation change does not compromise enclosure integrity or the assembly’s evaluated construction.
Give the neutral, ground and personnel space
Indicate neutral and equipment-grounding termination quantities separately, including any future provisions. Nonlinear loads and the grounding scheme can influence neutral sizing and its connection arrangement. The responsible engineer should define any neutral-to-ground bonding location and service requirements; a physical terminal layout alone does not establish where bonding is permitted.
Provide room dimensions, finished-floor elevation, door swings and the route for moving sections into place. Working space and service access depend on the actual equipment, exposure and applicable rules, not a clearance guessed from the nominal voltage. Plan for doors, removable covers and future access without blocking aisles or other equipment.
Fit protection and metering into the assembly
The one-line should show the main device, feeder devices, metering and any instrument transformer requirements. Device placement affects compartment sizes, wiring routes and the room available for field connections. Utility metering may have its own access and sealing requirements, so involve the utility early rather than treating the meter as a last-minute addition.
Obtain available fault-current information and the engineer’s protection requirements before settling the arrangement. Device interrupting duty and assembly short-circuit ratings must be evaluated together, and protection choices can affect physical construction. For a switchboard, discuss whether a project-specific UL 891 listing is required and verify the proposed configuration and listing scope.
Close interface gaps before fabrication
Ask for a proposal identifying equipment scope, assumptions, exclusions and options, followed by drawings showing elevations, dimensions, cable-entry areas, terminal details, equipment ratings and shipping splits. Have the engineer, installer and owner review the same revision against the site plan. Resolve anchorage, utility metering, field connections and testing responsibilities explicitly.
Schedule time for drawing review, utility decisions and confirmation of critical components before releasing fabrication; late route or conductor changes can affect both cost and schedule. The installer should coordinate receiving, rigging and field assembly, and qualified personnel should perform electrical installation and commissioning under applicable safety procedures and manufacturer instructions.
LET'S BUILD SOMETHING RELIABLE — 03
Ready to talk
switchgear?
Tell us about the new equipment your project needs. Include as much or as little detail as you have today.
(951) 403-5738CALL TO DISCUSS YOUR PROJECT