
BUILT IN THE USA. READY FOR YOUR PROJECT.
1,600-Amp Switchgear: Layout and Connection Planning
A 1,600-ampere planning target describes current class, not the physical size or confirmed rating of a particular assembly.
DIRECT FROM THE MANUFACTURER / NEW EQUIPMENT
THE MANUFACTURER’S PERSPECTIVE — 02
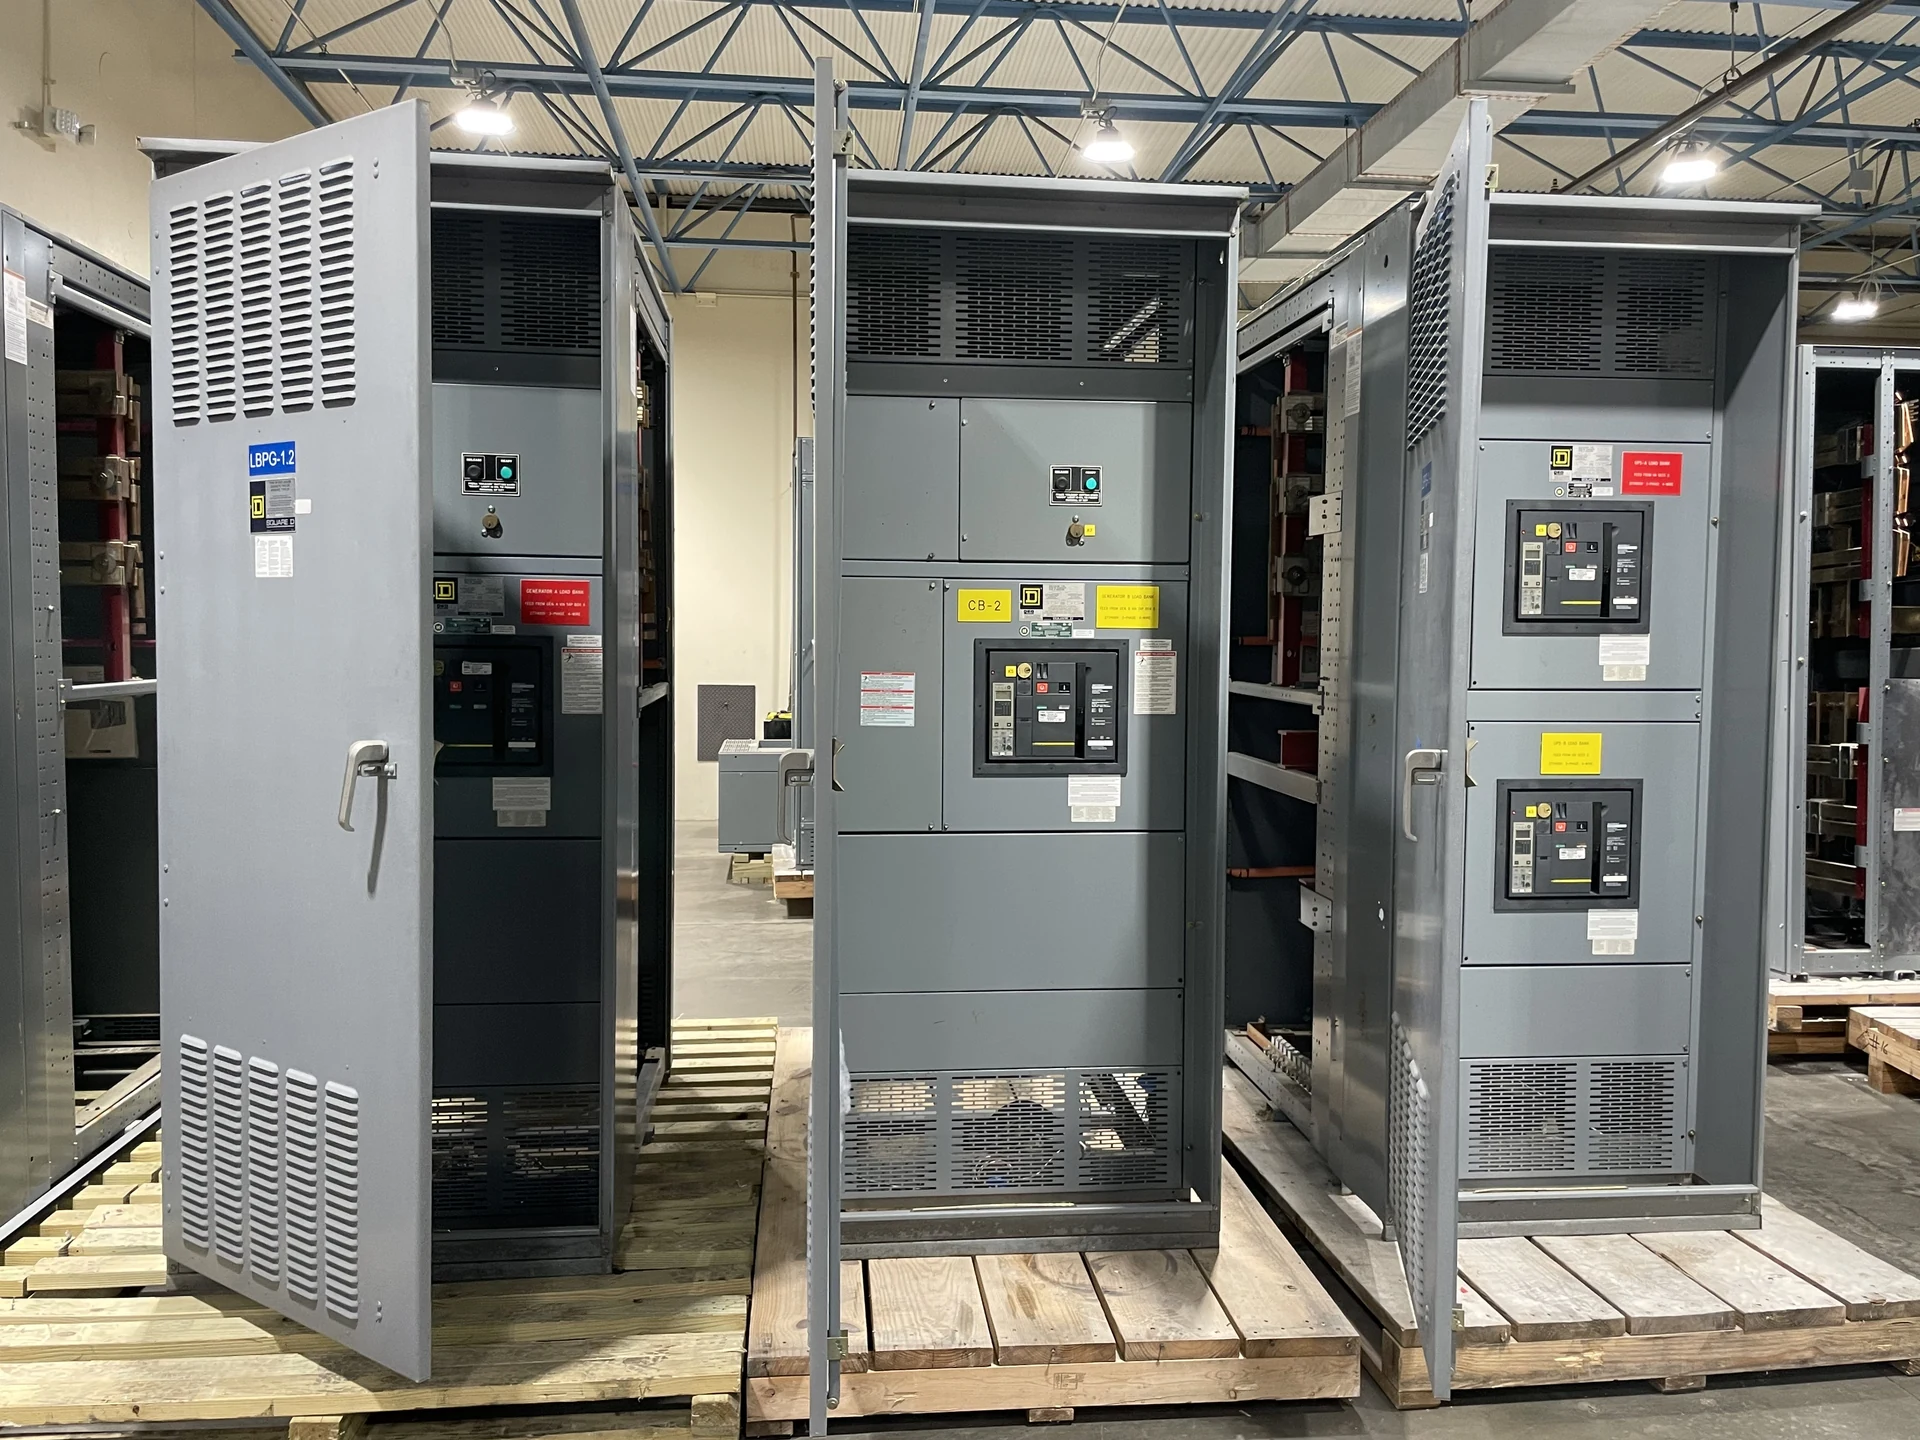
A 1,600-ampere planning target describes current class, not the physical size or confirmed rating of a particular assembly. For a new distribution lineup, cable routing, termination space and access often determine whether a proposed room layout is workable. Owners, contractors and engineers should resolve these interfaces with the direct manufacturer before committing to a footprint; engineering must confirm actual ratings, construction and availability.
Start with the electrical and site envelope
Provide a current one-line diagram showing sources, main and feeder devices, system voltage, phase and wire arrangement, and intended load growth. Include the available fault-current information and required protective functions. A 1,600-ampere nominal current target alone does not establish the assembly’s interrupting or withstand duties, or prove that an arrangement is suitable.
Share a dimensioned room or outdoor site plan with floor elevations, structural obstructions, adjacent equipment and proposed conduit routes. Identify the desired lineup position and the space available on every side. Indicate whether there are access restrictions or a planned future section; both can change the practical footprint and the sequence of installation.
Choose cable entry before fixing the footprint
Top entry may simplify routing from an overhead tray, but it can compete for space with structural members, ventilation and other services. Bottom entry may fit underground conduits, yet conduit stub-up positions and foundation features become critical. Ask the manufacturer to show entry zones and any restrictions on the arrangement drawings.
Give the design team the proposed conductor material, insulation, size, quantity per phase, and whether neutral and grounding conductors are included. Parallel runs can demand substantial bending and termination space. The engineer and manufacturer should confirm the selected cable arrangement, applicable bending requirements and terminal capacity rather than relying on the nominal current alone.
Define the termination and busway interfaces
A termination schedule should connect each incoming or outgoing circuit to its destination, entry direction and conductor details. Specify who supplies compatible lugs and whether the design must accept a particular termination method. The manufacturer can then identify connection provisions and exclusions; the installing contractor can assess field access and the necessary installation materials.
If a transformer or busway connects directly, request coordinated drawings showing the connection elevation, orientation, phase arrangement and mechanical support responsibilities. A small mismatch at a flange or transition can drive a costly field redesign. Allow the responsible engineers to evaluate movement, clearances and short-circuit forces for the complete interface.
Keep operation and maintenance space usable
The equipment outline is not the same as its working envelope. Show doors open, removable covers, and any breaker withdrawal or handling space that the selected design requires. The project’s electrical designer should verify applicable working-space, access and egress requirements for the actual equipment and installation, rather than assuming one clearance fits every lineup.
Discuss whether front-only access is needed or whether rear access is practical. A front-access arrangement may be attractive against a wall, but its cable routing, serviceability and construction must be confirmed for the proposed design. Include room ventilation and ambient conditions so enclosure choices and heat management receive engineering attention.
Plan delivery, assembly and site boundaries
A lineup that fits on the finished floor plan may still be difficult to deliver. Give the manufacturer the route dimensions, door openings, floor loading limits and lifting constraints. Request preliminary shipping dimensions, weights, lifting provisions and proposed shipping splits as the design develops; confirm final details before the contractor arranges rigging.
Clarify who provides the foundation, anchors, conduits and field connections, and who performs any required work at shipping splits. Coordinate floor tolerances and anchor locations against approved drawings. For an occupied facility, the owner and contractor should plan permitted outage windows and temporary supply interfaces separately from the equipment purchase.
Use submittals to control changes and schedule
Request a quotation identifying the proposed electrical scope, enclosure, connection provisions, applicable equipment standard, exceptions and deliverables. Layout submittals should include plan and elevation views, cable entry and termination details, shipping sections and field connection boundaries. For an appropriate switchboard, confirm any required UL 891 listing for the actual project-specific assembly.
Set review milestones for utility requirements where applicable, shop drawings, component availability, fabrication, inspection and delivery. Late changes to conductor count or entry direction can affect enclosure design and the schedule, so record revisions and obtain approval before release. Installation, testing and energization remain the responsibility of qualified personnel under site procedures and manufacturer instructions.
LET'S BUILD SOMETHING RELIABLE — 03
Ready to talk
switchgear?
Tell us about the new equipment your project needs. Include as much or as little detail as you have today.
(951) 403-5738CALL TO DISCUSS YOUR PROJECT