
BUILT IN THE USA. READY FOR YOUR PROJECT.
Medium-Voltage Switchgear: Installation and Access
A medium-voltage lineup is not ready for purchase until its route into the building and its connections to the electrical system are understood.
DIRECT FROM THE MANUFACTURER / NEW EQUIPMENT
THE MANUFACTURER’S PERSPECTIVE — 02
A medium-voltage lineup is not ready for purchase until its route into the building and its connections to the electrical system are understood. A compact equipment footprint can still require substantial room for cable terminations, removable devices and safe access. Owners, engineers and installers should resolve those interfaces with the manufacturer before releasing a new assembly for fabrication.
Start with the lineup and the room
Provide a current one-line diagram showing sources, switching and protection, feeder destinations and intended operating arrangements. State the system voltage, required equipment voltage class, continuous current, available fault duty and applicable construction requirements. The selected equipment architecture and protection scheme affect both the lineup dimensions and the space needed for its interfaces.
Give the manufacturer a dimensioned room plan with ceiling heights, columns, obstructions and adjacent equipment. The engineer and authority having jurisdiction must establish applicable working clearances for the installation; do not assume the cabinet depth alone defines the room. Allow for door swing, removable breaker travel, handling equipment and any specified ventilation or pressure-relief path.
Plan the delivery route before fixing dimensions
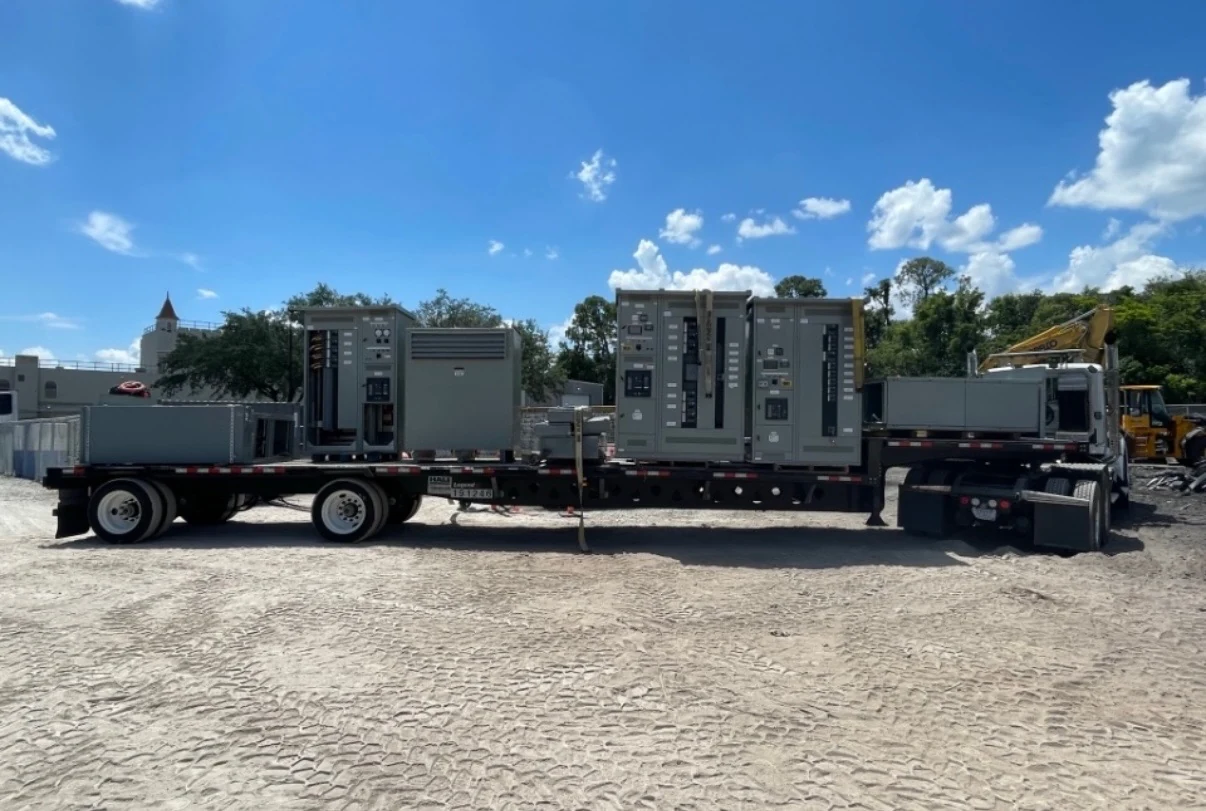
Trace the proposed route from the delivery vehicle through gates, ramps, doors and corridors to the foundation. Compare opening sizes, turning space, floor loading and available lifting capacity with the manufacturer’s shipping dimensions, weights and lifting-point information. A lineup that fits on its pad may be too large to reach it intact.
Shipping sections can make transport and placement more practical, but they introduce field alignment and connection work. Ask which hardware, barriers and documentation accompany each split, and who supplies rigging and reassembly labor. Confirm foundation elevations, anchor locations and tolerances with the structural team, and establish a dry, protected storage plan if installation will be delayed.
Match cable entry to termination space
Top entry can suit overhead routing; bottom entry may align better with an underground duct bank or cable trench. Neither is automatically smaller. Conductor bend requirements, termination kits, cable supports and phase spacing can determine compartment size. Coordinate the entry openings and their usable locations with civil and electrical drawings before concrete or conduit placement is finalized.
For each incoming and outgoing circuit, supply conductor quantity, size, insulation and shielding details, approach direction and termination requirements. Identify the party furnishing termination materials and performing the work. Shield grounding and cable support details belong in the engineered design and must be compatible with the selected cable, accessories and equipment instructions.
Define the field-connection boundary
A proposal should distinguish factory-assembled wiring and bus from connections required between shipping sections or to adjacent equipment. Request drawings that identify the mating faces, anchor interface, field bus joints and grounding connections. The installer needs approved instructions and the correct parts; the project engineer should resolve any conflict between site conditions and the submitted layout.
Also check interfaces to transformers, utility facilities and downstream feeders. Connection locations, phase arrangement and physical support responsibilities can differ even when a one-line appears complete. Establish who verifies dimensions and produces revised drawings if site measurements change. Field work is for qualified electrical personnel following the approved design, manufacturer instructions and site safety procedures.
Coordinate controls and commissioning
Power cables are only part of the installation. Identify control-power and trip-power sources, protective relay inputs, interlocks, alarms and remote indications, including terminal and communications interfaces. A separate battery or monitoring system may be outside the equipment package, so its supply, wiring and testing responsibilities should be explicit in the contract.
Agree on the division between factory checks and site acceptance work. The owner’s commissioning plan should address inspection, field connection verification, relay settings, functional tests and the records needed before energization. Qualified personnel and the responsible engineer determine procedures and acceptance criteria; the manufacturer’s drawings and test documentation are inputs, not substitutes for site authorization.
Purchase around decisions and dependencies
Request a quote using the one-line, equipment specification, room and route drawings, cable schedule, environmental conditions and desired delivery destination. Ask for an outline drawing, estimated shipping splits, weights, foundation and cable-entry requirements, applicable standards and any project-specific listing information. Review exceptions as carefully as dimensions, because an omitted interface can move cost and risk to the field.
Build the project schedule around submittal review, approval of dimensions, component availability, fabrication, inspection, shipping and installer readiness rather than an assumed delivery date. The owner should coordinate utility approvals and any outage windows with the affected parties. Track design changes after drawing approval, including their effect on foundations, cable routing, field labor and turnover documents.
LET'S BUILD SOMETHING RELIABLE — 03
Ready to talk
switchgear?
Tell us about the new equipment your project needs. Include as much or as little detail as you have today.
(951) 403-5738CALL TO DISCUSS YOUR PROJECT