
BUILT IN THE USA. READY FOR YOUR PROJECT.
Metal-Clad Switchgear: Installation and Access
Metal-clad medium-voltage switchgear installation starts well before the lineup arrives.
DIRECT FROM THE MANUFACTURER / NEW EQUIPMENT
THE MANUFACTURER’S PERSPECTIVE — 02
Metal-clad medium-voltage switchgear installation starts well before the lineup arrives. Its separately compartmented construction, breaker handling needs and cable termination geometry affect the room, delivery route and construction sequence. Owners, consulting engineers and contractors can reduce late changes by developing the equipment layout and site interfaces together, then purchasing a new assembly against those agreed requirements.
Fit the lineup and its access envelope
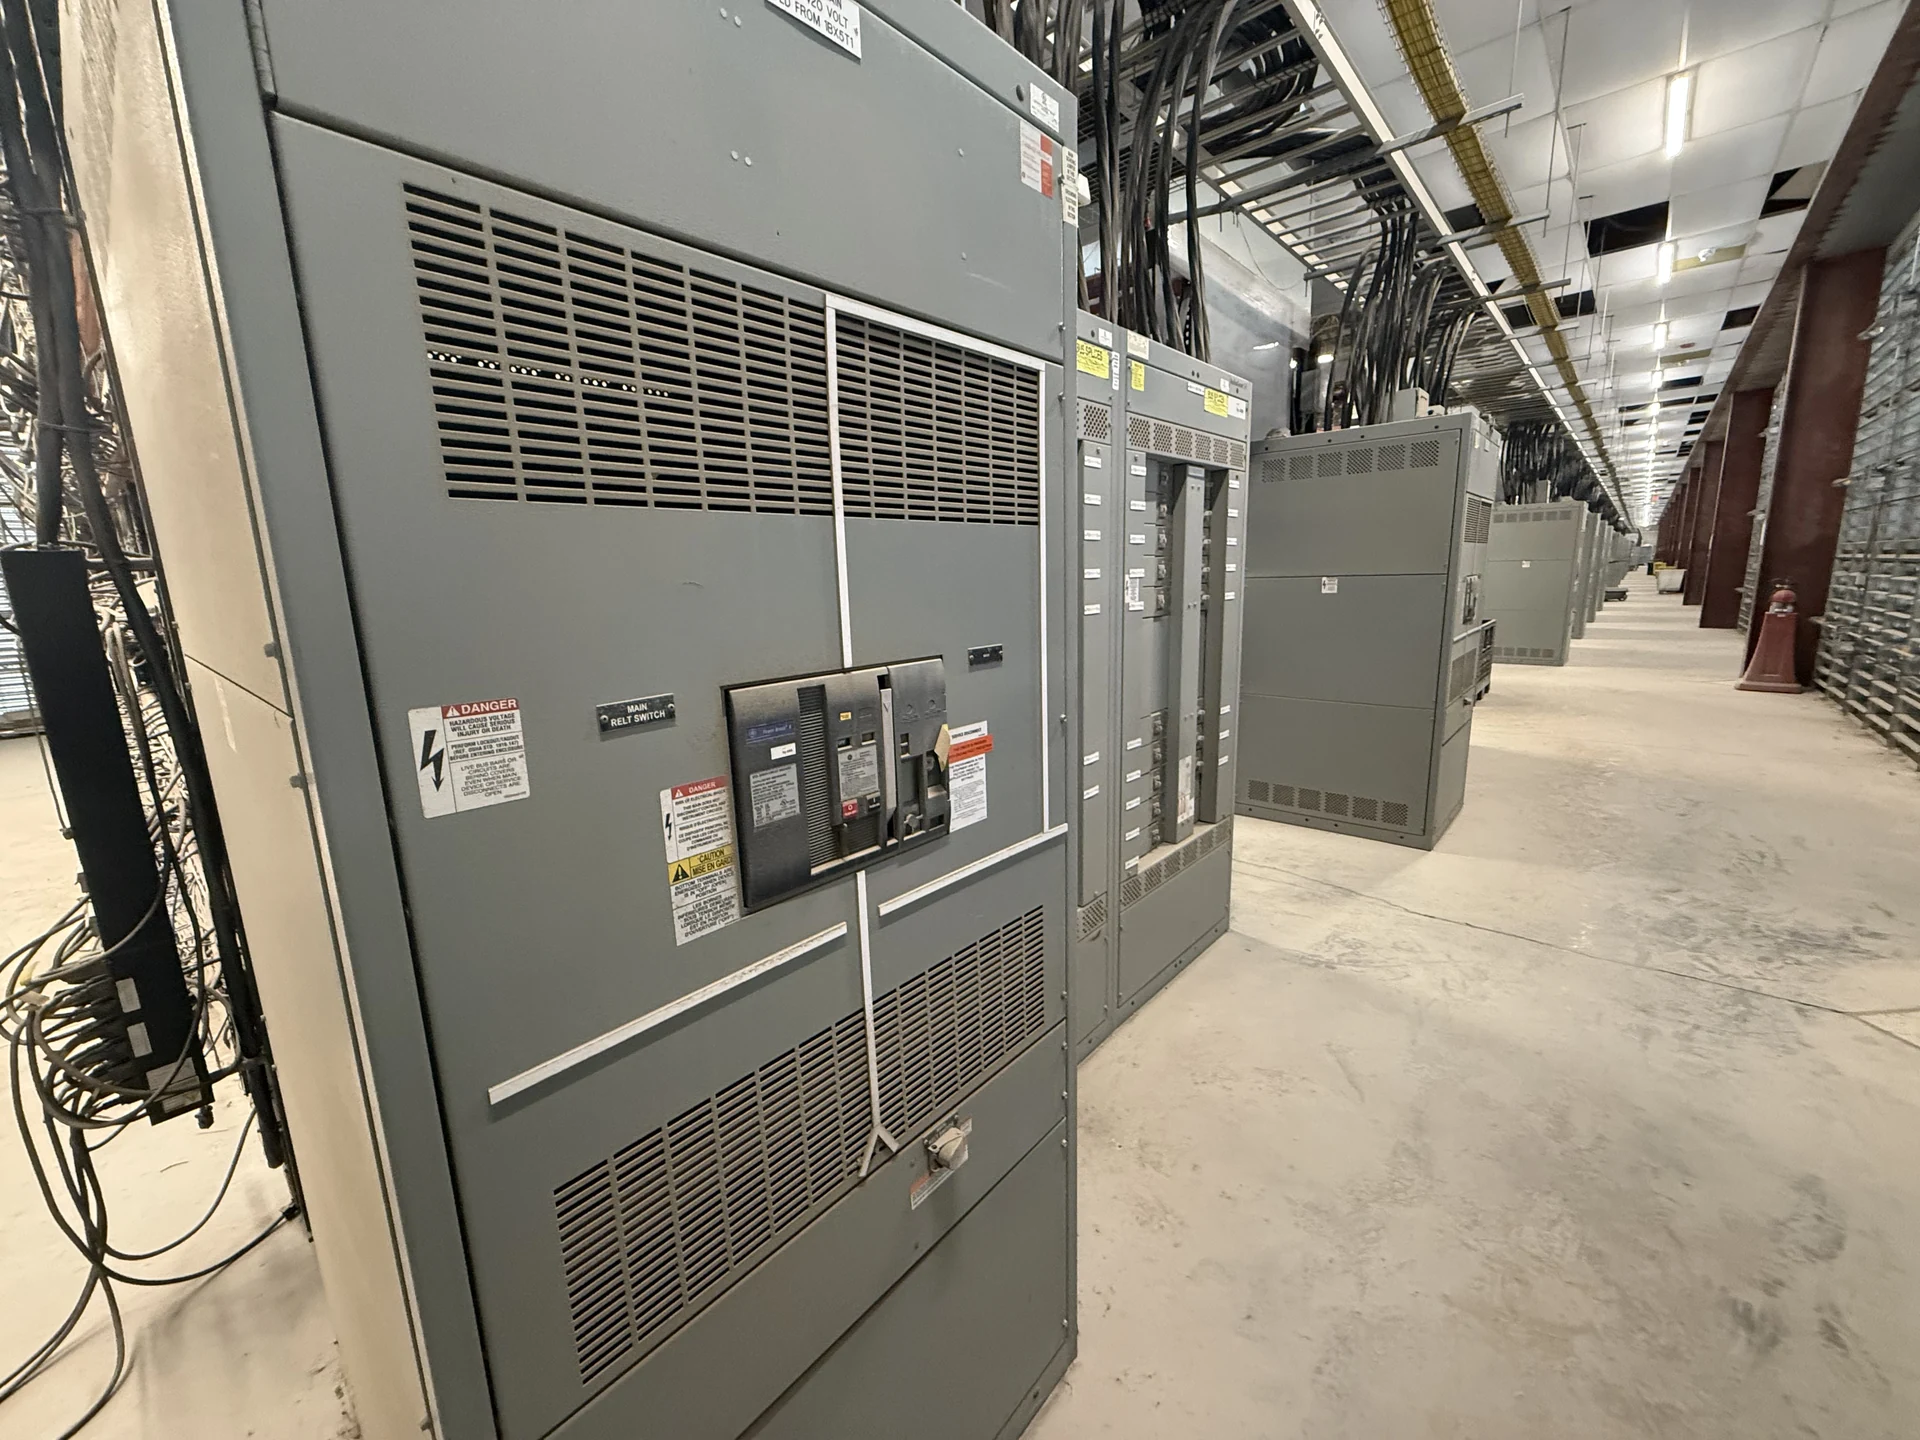
Begin with a dimensioned plan showing the proposed lineup, adjacent walls and columns, floor elevation and any room doors. Request equipment elevations and plan views that identify shipping splits, front and rear access where required, door swings and removable panels. A lineup that fits on paper may still obstruct access to a cable compartment or protective relay.
Include the space and travel path needed for withdrawing a drawout breaker, using its handling device and moving it clear of the equipment, if that design is specified. The project engineer must establish working space and egress under applicable codes and the actual equipment instructions; compartment barriers do not make energized work automatically safe.
Design the floor, entry route and supports
Confirm the dimensions and weight of each shipping section, its center of gravity and approved lifting provisions before finalizing the route from unloading to the equipment room. Door openings, turning radii, floor loading, ramps and available rigging clearance can constrain section sizes. A smaller shipping split may ease access but add field assembly and inspection work.
Coordinate the foundation and anchor plan with the structural designer and manufacturer. Show floor flatness and elevation requirements, housekeeping pads if specified, anchor locations, equipment loads and any project seismic criteria. Openings, trenches and embedded conduits should be checked against the approved equipment drawings before concrete placement, not just an early outline.
Choose cable entry around termination space
Top entry can avoid a trench but needs overhead routing and support; bottom entry can simplify some overhead congestion while demanding accurate floor openings and underground coordination. Neither is inherently better. Show the incoming and outgoing cable routes, conductor sizes and quantities, shielding, termination types and phase arrangement on the inquiry drawings.
The assembly designer and cable installer must verify bending space, termination access, supports and the fit of the specified medium-voltage cable accessories within the actual compartments. Allow for the space occupied by stress-control terminations and shield grounding arrangements. Shifting a conduit after the lineup is built can create substantial rework or prevent a suitable termination.
Define connections across supply boundaries
Use the one-line and connection schedules to identify source and feeder interfaces, equipment grounding, control power, communications and external trip or status signals. State whether the project includes a transformer or bus connection to the lineup, and coordinate flange dimensions, phase orientation, tolerances and independent supports with the adjacent equipment supplier.
Separate factory wiring and assembly from field-installed cables, terminations, sectional bus connections, grounding and external controls in the purchase scope. Request terminal schedules, connection details and a list of field-supplied materials. This distinction lets the electrical contractor price the actual handoff rather than assume that factory assembly includes site work.
Prepare for delivery and field integration
Agree on delivery sequence, unloading responsibility, inspection at receipt and protected storage conditions. If the equipment arrives in sections, compare the proposed split locations with the site route and construction schedule. Identify who supplies rigging, moves each section into position and performs the manufacturer-defined field assembly and related checks.
Environmental exposure during storage and construction matters: coordinate packaging, moisture protection and any temporary conditions with the equipment instructions. The installation team should reconcile shipping documents, visible condition and missing items promptly, and keep handling records so a receiving issue does not become an unexplained commissioning delay.
Link submittals, testing and the outage plan
For a useful direct-manufacturer quotation, supply the system one-line, available fault information, required ratings, proposed layout, cable data, access constraints and required standards. Compare offers for deviations, shipping splits, drawings, factory inspection and test scope, not just the equipment footprint. Confirm project-specific equipment suitability and any required listing or certification during engineering review.
Build the schedule around drawing approval, component availability, fabrication, testing, transport and field readiness; dates depend on the agreed scope and review cycle. Assign responsibility for field tests, protection settings, commissioning records and energization authorization. Qualified personnel must plan and perform electrical work under site procedures, applicable codes and manufacturer instructions, with owner-approved outages where needed.
LET'S BUILD SOMETHING RELIABLE — 03
Ready to talk
switchgear?
Tell us about the new equipment your project needs. Include as much or as little detail as you have today.
(951) 403-5738CALL TO DISCUSS YOUR PROJECT