
BUILT IN THE USA. READY FOR YOUR PROJECT.
Electrical Switchboards: Installation and Access
A switchboard can satisfy the electrical one-line and still be difficult to install if its sections will not fit through the building or its cable compartments do not match the conduit plan.
DIRECT FROM THE MANUFACTURER / NEW EQUIPMENT
THE MANUFACTURER’S PERSPECTIVE — 02
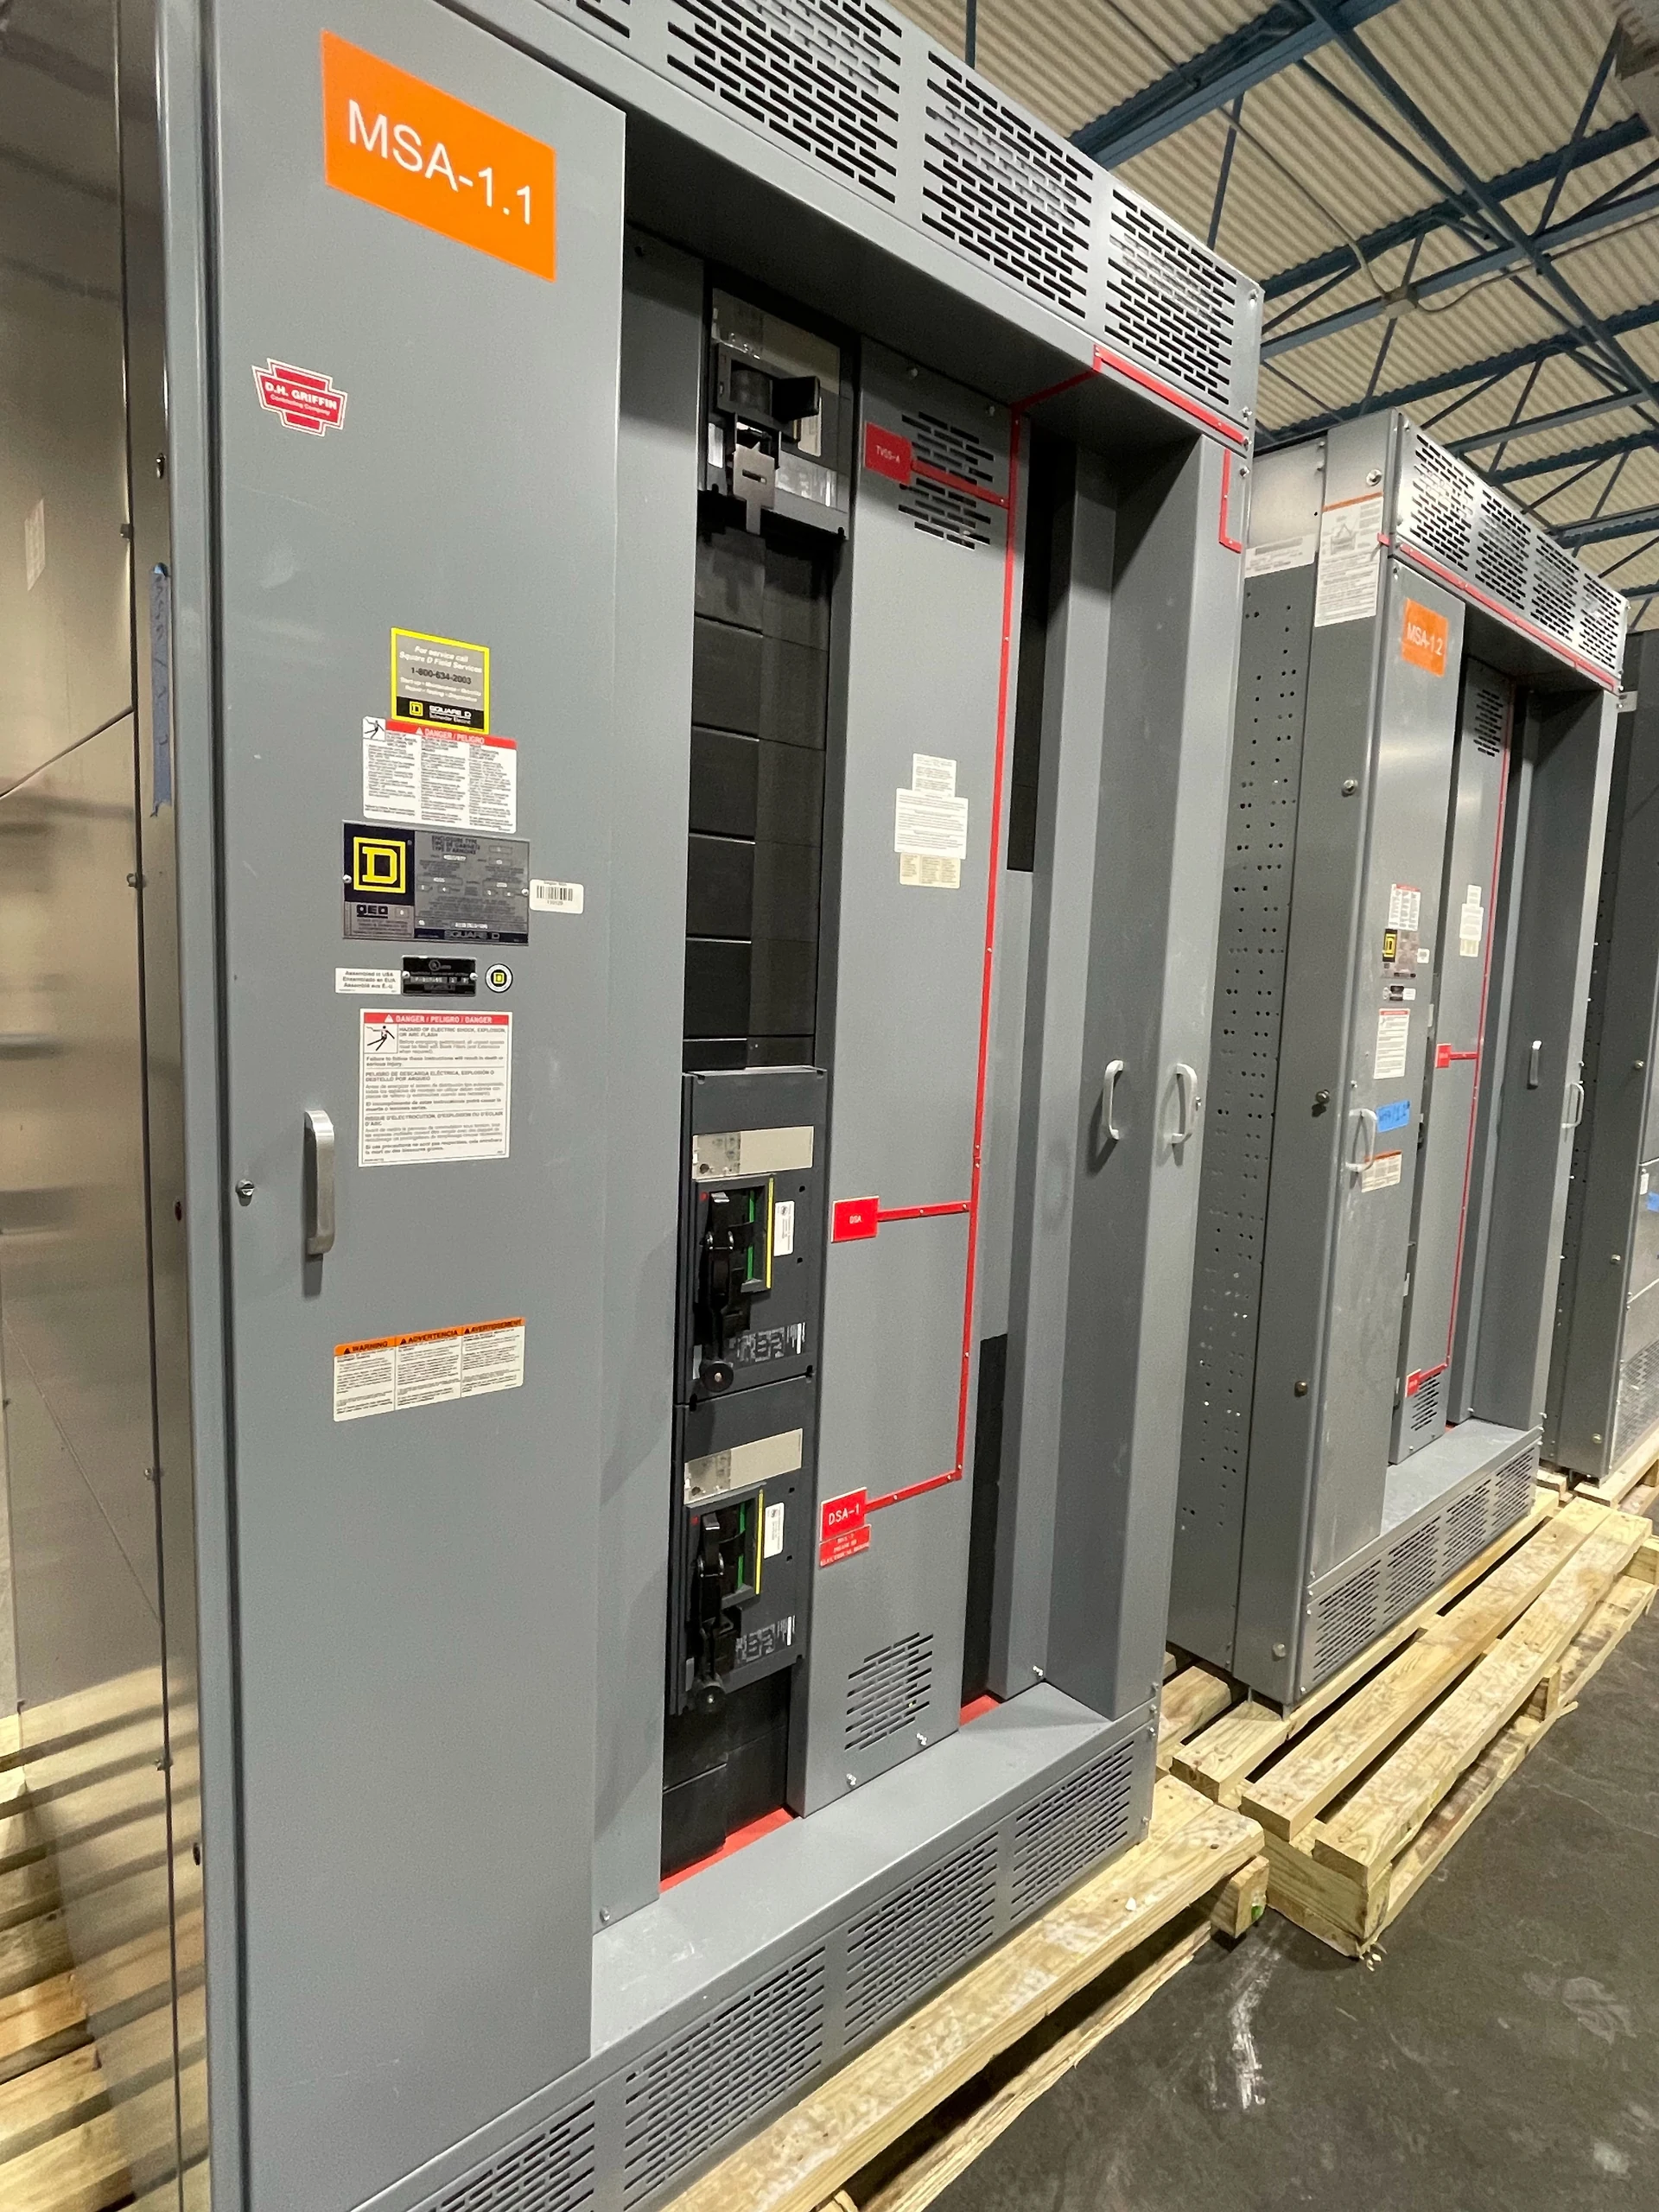
A switchboard can satisfy the electrical one-line and still be difficult to install if its sections will not fit through the building or its cable compartments do not match the conduit plan. For a new low-voltage service or feeder distribution assembly, coordinate physical access, connections and responsibilities with the manufacturer before the layout is released for production.
Start with the room, not just the lineup
Give the manufacturer a dimensioned room plan, proposed equipment location and one-line showing the incoming source and outgoing feeders. Include ceiling heights, doors, columns, nearby equipment and any raised floor or housekeeping pad. The switchboard footprint is only the starting point: working space, dedicated electrical space and access routes also need review.
The engineer and installer should establish applicable clearances from the adopted electrical code, local requirements and the actual equipment arrangement rather than assuming a single standard dimension. Show door swings and the space needed for covers or serviceable components. A compact lineup may save floor area but make future cable work or inspection more difficult.
Design the delivery path and foundation together
Check the route from unloading point to final position for vehicle access, dock limits, door openings, turns, elevators and floor loading. Ask for shipping-section dimensions, weights, center-of-gravity information and identified lifting provisions. Large lineups may need to ship in sections, which can ease handling but add field alignment and assembly work.
The structural and electrical teams should coordinate pad dimensions, anchor locations, equipment loads and any applicable seismic requirements. Confirm who supplies the pad, anchors, rigging and weather-protected storage. Compare the route against actual shipping dimensions after submittal review; a layout that fits the room may still not fit the route into it.
Match cable entry to the real conductor plan
State whether service and feeder conductors enter from above or below, and provide conduit locations, conductor material, sizes and quantities per phase, neutral and grounding path. The manufacturer can then evaluate terminal arrangement, cable bending space and the usable entry area. Crowded bottom entry may compete with anchors, foundations or other conduits.
Request drawings that identify permitted entry zones and termination locations rather than relying on the outside dimensions alone. Top entry can avoid congestion below a slab but may require overhead supports and room for bends. Confirm lug compatibility and any limitations on field openings with the manufacturer; coordinate proposed changes before fabrication or site work.
Preserve access throughout the equipment life
Specify the access needed for incoming terminals, feeder devices, metering and future circuits. Front-access construction can simplify placement against a wall when the actual design permits it; other arrangements may require rear or side access. Verify each compartment and its project-specific clearances on the approved drawings instead of treating the access label as a complete room plan.
Room ventilation, ambient conditions and exposure to moisture or dust influence where an indoor switchboard can be located. Avoid blocking ventilation paths with conduit or adjacent equipment. If future feeders are planned, reserve both internal termination capacity and an accessible route out of the room; an empty device space alone does not solve routing.
Assign every field interface
A responsibility matrix should distinguish factory assembly from field work at shipping splits, incoming and outgoing conductors, grounding and bonding, and control or metering terminals. The installing contractor needs the manufacturer's applicable connection information and drawings; the project engineer resolves system grounding and bonding requirements. Utility-owned metering or service interfaces require separate utility coordination.
Identify who provides protective settings, field inspection, testing and final documentation, including any external communication wiring. Qualified electrical personnel should perform field work under the site's safety program and applicable rules, with energization authorized through the project process. Any assembly listing or labeling requirements, including UL 891 where applicable to a switchboard, must be verified for the specific design.
Buy against an installable, reviewable scope
For a meaningful quotation, provide the one-line, load and feeder schedule, system characteristics, available fault-current information, utility requirements and room constraints. Request an outline drawing, section and access arrangement, preliminary cable entry information, shipping assumptions and a list of exceptions. Compare proposals on those interfaces as well as on equipment features.
Allow time for design clarification, drawing approval, component availability, production, delivery planning and field acceptance; changes to entry locations or dimensions can affect several stages. Coordinate permits, utility review and any outage window separately with the responsible parties. At turnover, obtain the approved drawings, installation instructions and agreed test records so the owner has a usable project record.
LET'S BUILD SOMETHING RELIABLE — 03
Ready to talk
switchgear?
Tell us about the new equipment your project needs. Include as much or as little detail as you have today.
(951) 403-5738CALL TO DISCUSS YOUR PROJECT