
BUILT IN THE USA. READY FOR YOUR PROJECT.
27 kV Switchgear: Layout and Connection Planning
A 27 kV system design affects much more than the switchgear nameplate.
DIRECT FROM THE MANUFACTURER / NEW EQUIPMENT
THE MANUFACTURER’S PERSPECTIVE — 02
A 27 kV system design affects much more than the switchgear nameplate. Cable routing, termination geometry, access for inspection and the space needed to move equipment all shape the lineup. Owners, engineers and contractors can prevent expensive interface revisions by resolving these details with the manufacturer before the physical design is released. Equipment suitability and availability must be established for the particular project.
Start with the system, not the label
The phrase 27 kV may describe a nominal system voltage or an equipment voltage class; those are not interchangeable. Provide the system nominal and maximum operating voltages, grounding method and applicable utility requirements. The engineer and manufacturer can then review the equipment maximum voltage and insulation levels, including the required impulse withstand, against the actual application.
A workable layout also depends on continuous current, source and feeder arrangements, available fault current and protective clearing requirements. The devices, bus and complete assembly must be suitable together. Higher insulation and fault-duty requirements can influence compartment dimensions and equipment selection, so avoid freezing a footprint before the electrical basis is reviewed.
Give each cable a realistic route
For every incoming and outgoing circuit, identify conductor material, size, number of cables per phase, insulation, shielding, termination type and the direction of entry. Indicate whether cables arrive from a trench, conduit bank or overhead tray. The manufacturer needs this information to assess termination space and the relationship between cable supports and connection points.
Top entry may simplify an overhead route but compete with building structure or ventilation; bottom entry can align with a trench but requires coordinated openings and support below the enclosure. Both choices must accommodate the cable and termination suppliers’ bending, separation and stress-control requirements. A compact floor plan is not useful if conductors cannot be brought into their assigned compartments.
Protect access around the lineup
Request plan and elevation drawings showing doors, removable covers, cable compartments, operating features and any drawout device travel. Compare them with columns, adjacent walls, ceiling obstructions and the path by which components will be removed. Front-only access can reduce rear-space demands where an appropriate design is available, but it may change the lineup width or service arrangement.
The project engineer should determine working and access clearances under applicable codes, site rules and equipment instructions rather than relying on a generic room dimension. Maintenance access to terminations, instrument transformers and protective devices belongs in the review. Qualified personnel must plan and perform electrical work under the site’s safety procedures.
Coordinate the building and delivery path
Share room dimensions, finished floor elevations, trench details and the proposed foundation or pad. For outdoor equipment, describe exposure to moisture, flooding, contamination and temperature, along with any enclosure and ventilation requirements. Civil and structural designers need equipment weights, support locations, anchorage information and project-specific environmental criteria before finalizing their interfaces.
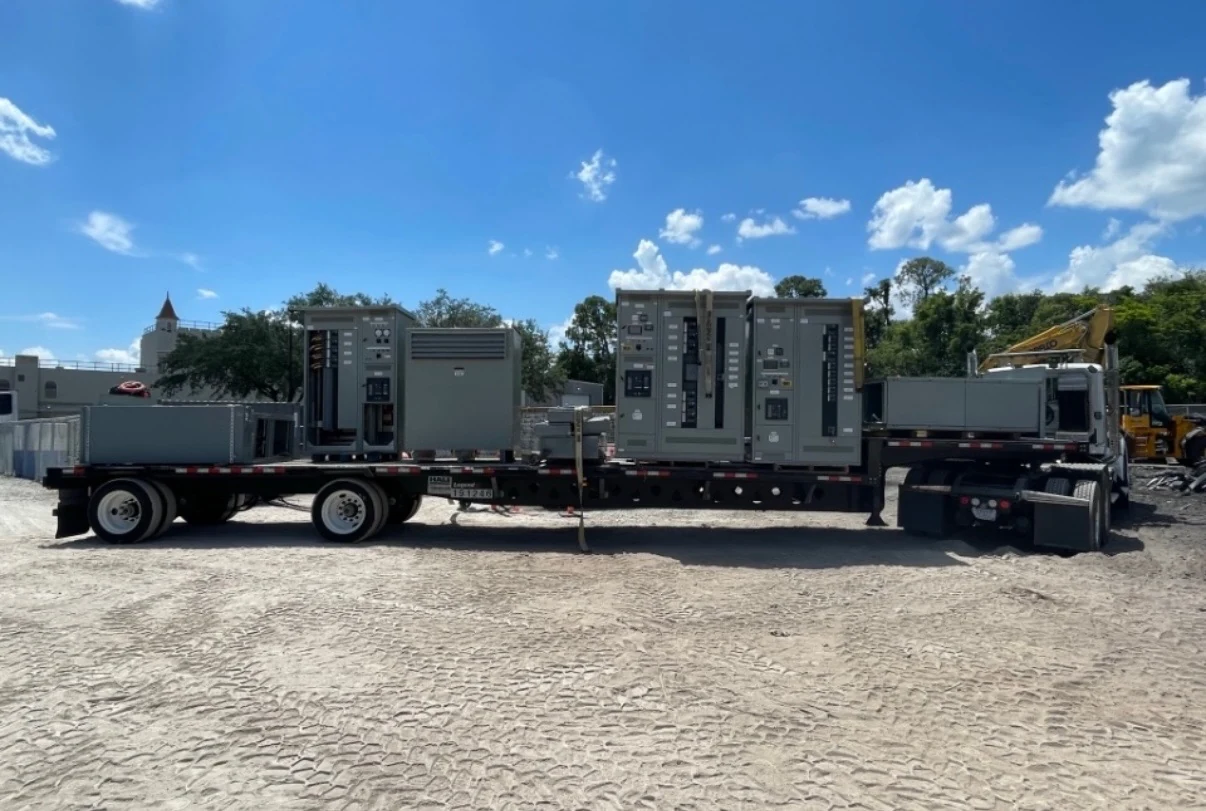
A lineup that fits its destination may still be too large for the delivery route. Check door openings, turning space, lifting access and floor loading with the rigging contractor. Where shipping splits are necessary, clarify the transport sections, field reassembly scope and required access. Confirm who supplies lifting equipment and who receives and stores the shipment.
Define electrical and control boundaries
The one-line should identify sources, feeders, metering and protection functions, as well as the utility connection point when applicable. Provide the available fault-duty study inputs and relay or coordination requirements for review. Space for current and voltage transformers, protection devices and cable compartments must match the intended circuit arrangement, not merely the number of feeder labels.
Document control power, trip power, alarm contacts, communication interfaces and any remote-control requirements. Identify who furnishes and connects external wiring, cable terminations, grounding and shield connections, and who develops relay settings. These boundaries affect terminal locations, auxiliary compartments and commissioning work; they should be visible in both the drawings and the purchasing scope.
Buy against reviewed drawings and milestones
For a quotation on a new assembly, send the one-line, load and cable schedules, available fault data, site constraints and applicable project specifications. Ask the direct manufacturer to identify proposed equipment construction, preliminary dimensions, connection locations, deviations and any assumptions. If a specific listing or standard is required, confirm its applicability and the proposed assembly’s project-specific status.
Before release, compare the submittal drawings with utility, civil, electrical and installation documents, then assign owners to open questions. Agree on the review cycle, factory inspection or test documentation, shipping arrangements and field turnover records. Cable changes or a revised protective scheme can affect both layout and schedule, so route revisions through formal change review rather than assuming a later adjustment will fit.
LET'S BUILD SOMETHING RELIABLE — 03
Ready to talk
switchgear?
Tell us about the new equipment your project needs. Include as much or as little detail as you have today.
(951) 403-5738CALL TO DISCUSS YOUR PROJECT